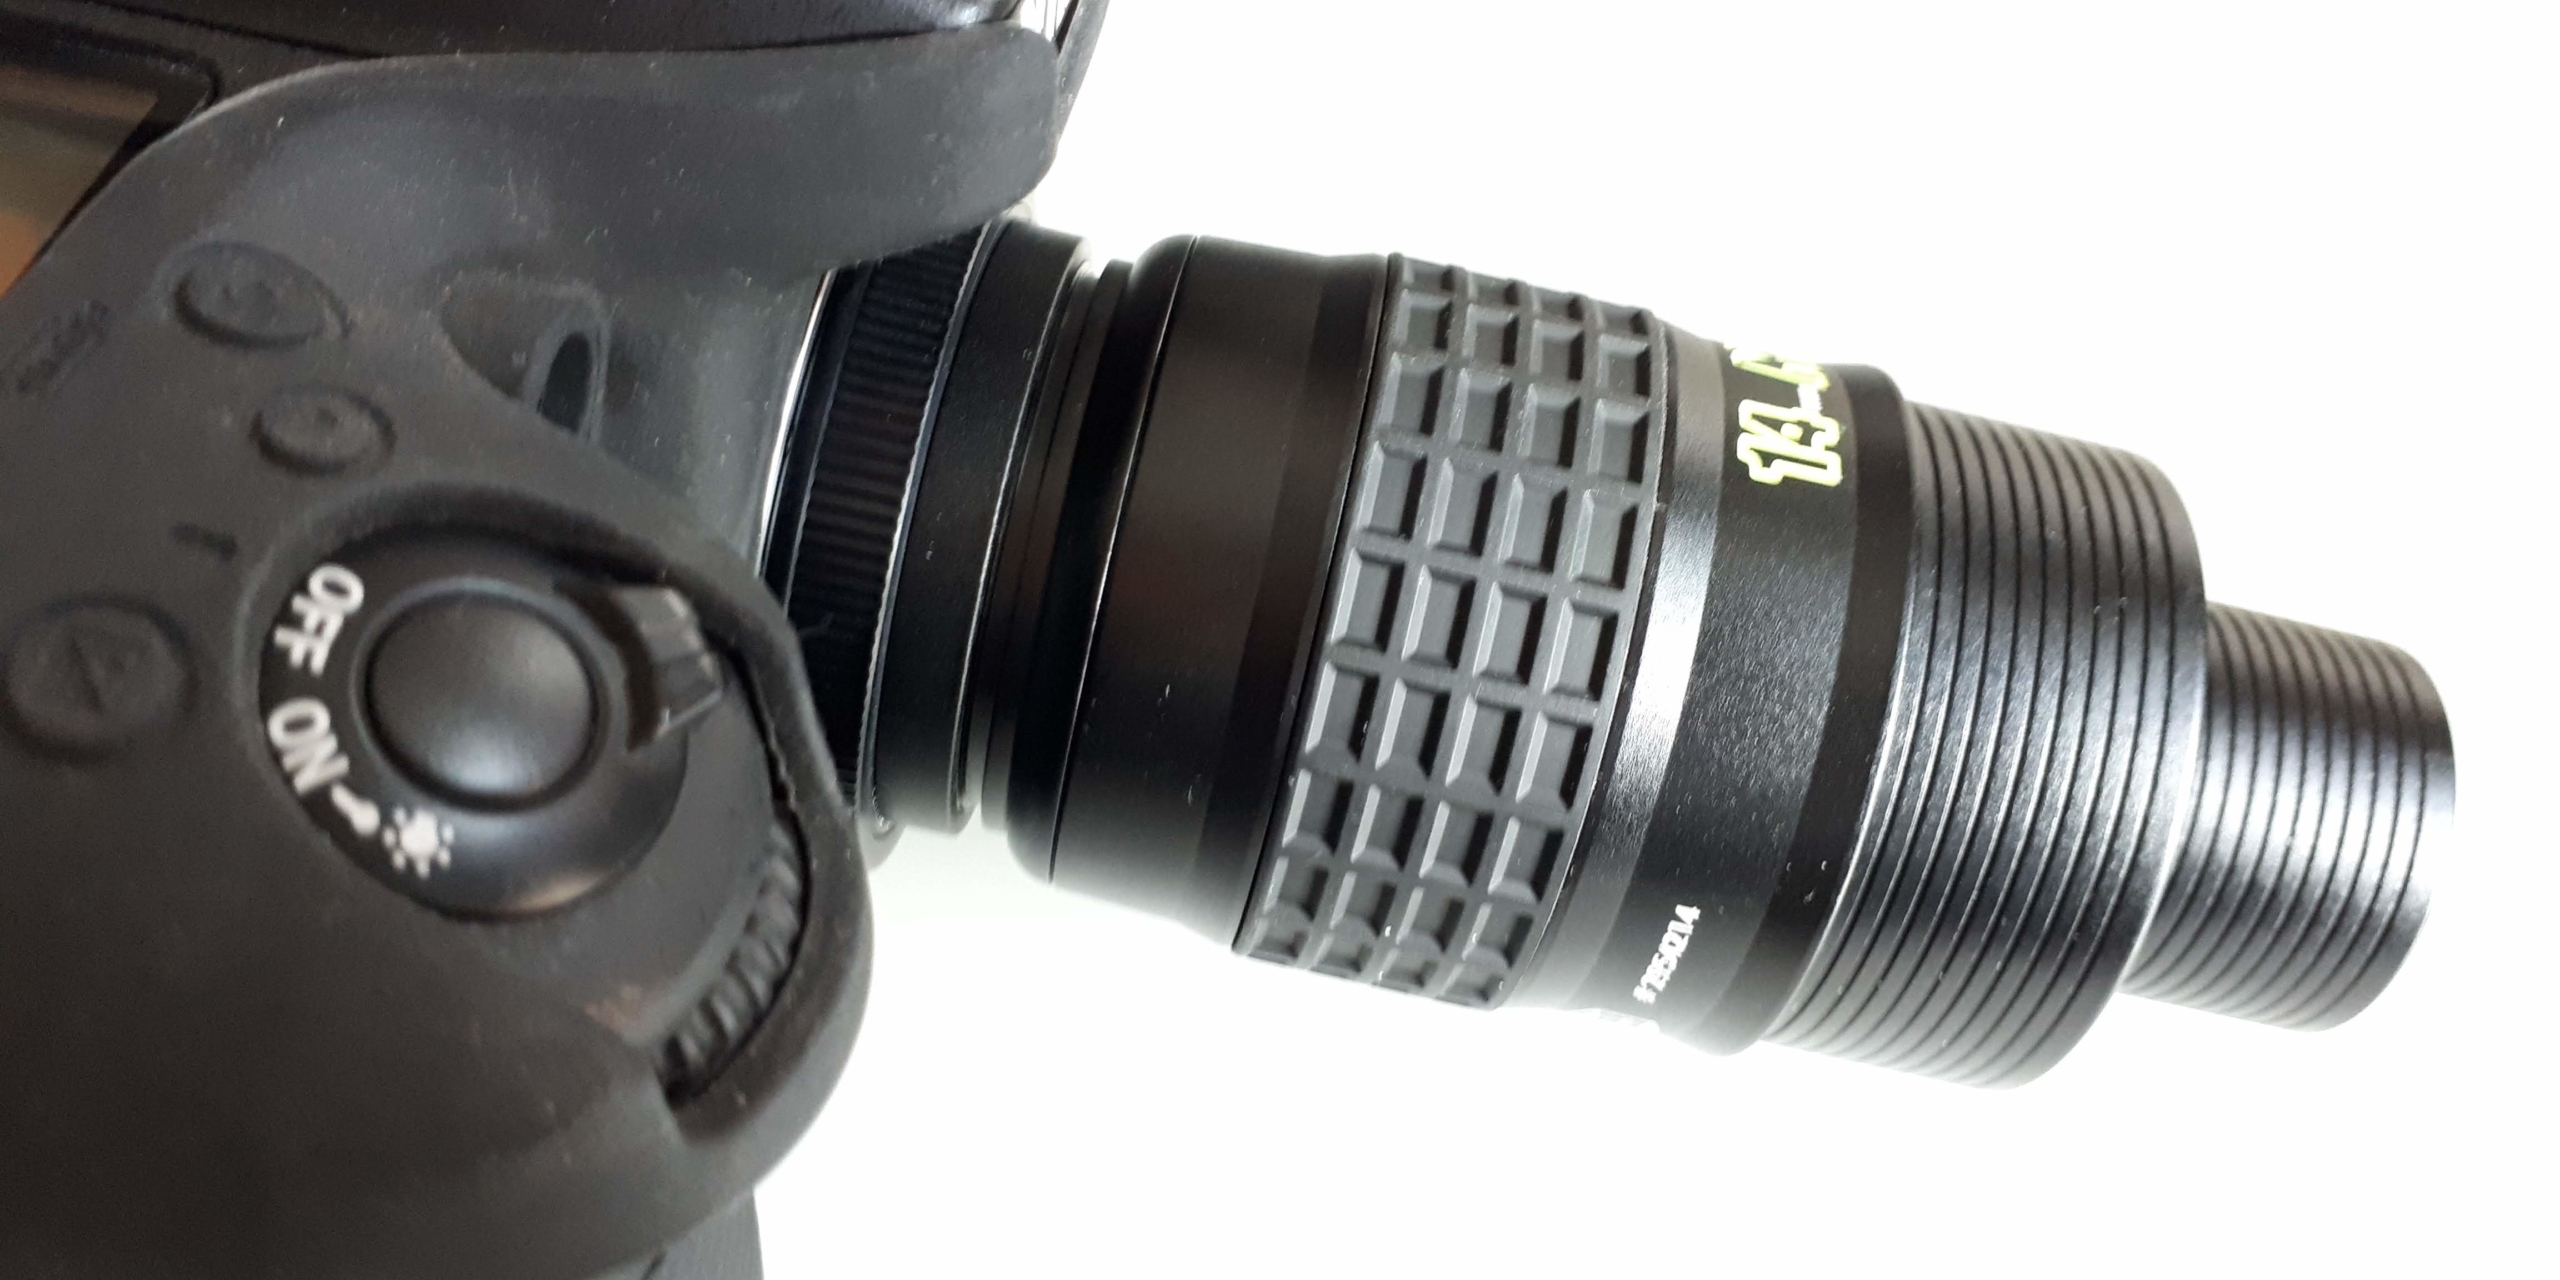
Here is a quick guide to adding a T-ring to a Baader Morpheus 76° eyepiece so you can do projection photography of the Moon and planets. The whole process is very quick and simple.
Firstly here is what you need:

Morpheus and accessories
Step 1: Remove the metal rubber eyecup. This exposes the eyepiece’s male M43 thread.

Morpheus with M43 eyecup removed showing the M43 thread.
Step 2: Get the Baader M43-to-T2 adaptor ring (#2958080) out of its box,

Baader M43 to T-2 adaptor
..and thread it onto the male M43 threads on the Morpheus eyepiece.

M43-to-T2 adaptor being attached to a Morpheus eyepiece
Step 3: Screw your T-ring onto the male T-2 threads of the M43-to-T2 adaptor that you have just attached to the Morpheus eyepiece.

T-ring being attached to a Morpheus eyepiece
Step 4: Attach your camera.

Camera attached to a Morpheus eyepiece
Step 5: You can now put the Morpheus eyepiece, with your camera attached, into your telescope’s focuser ready for projection photography.
Note: Baader recommend a distance of 40mm between the Morpheus M43 adaptor and a T-ring for full-frame DSLR’s or 30mm for APS-C cameras to minimise vignetting. Such a spacer (e.g. Baader 40mm T-2 extension tube) would be attached between the M43-to-T2 adaptor and the T-ring.


